

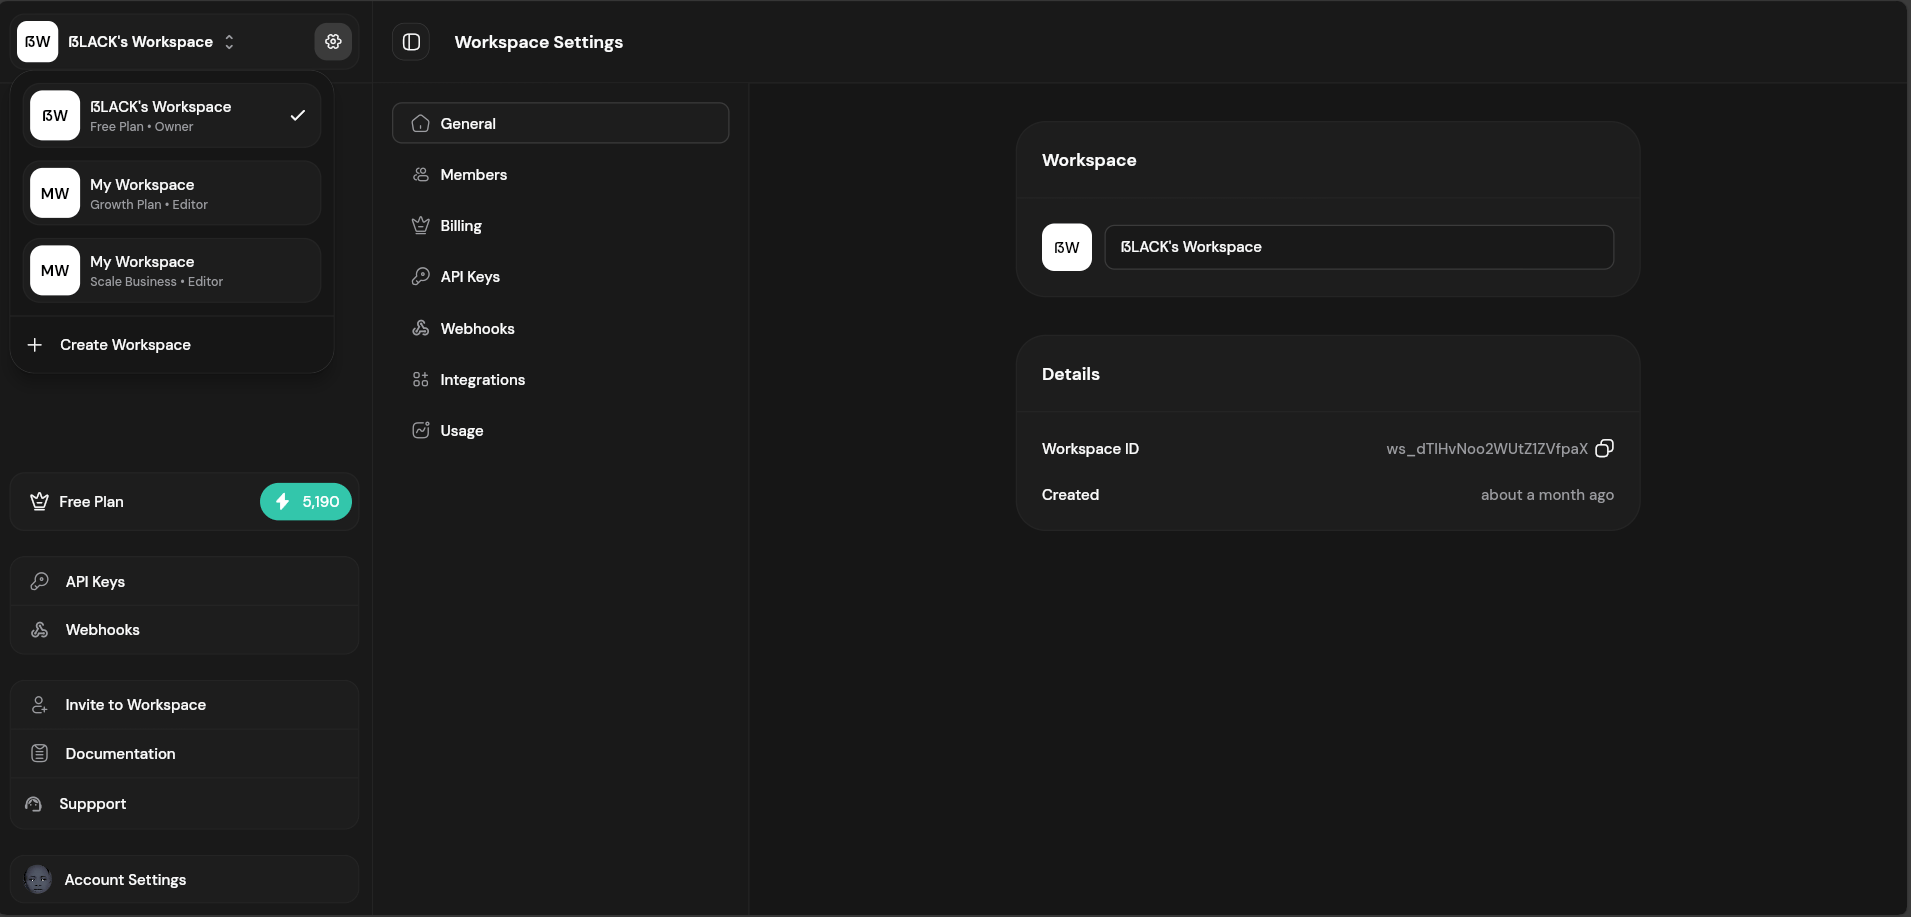
Workspace settings and configuration
Switching Workspaces
Use the workspace dropdown at the top of the sidebar to switch between workspaces. The dropdown shows:- Workspace name
- Your role (Owner, Editor, Viewer)
- Settings icon for quick access
Creating a Workspace
1
Open Workspace Menu
Click the workspace dropdown in the sidebar.
2
Click Create Workspace
Select “Create New Workspace” from the menu.
3
Enter Details
Provide a name for your workspace. A URL-friendly slug is generated automatically.
4
Confirm
Click “Create” to set up your new workspace.
New workspaces start on the Free plan. Upgrade anytime from the Billing section.
Workspace Settings
Access workspace settings by clicking the gear icon next to your workspace name.General Settings
Storage Modes
Configure how Fileloom stores your generated PDFs:
See Integrations for external storage setup.
Workspace Roles
Team members can have different access levels:Workspace Limits
Resources are limited per workspace based on your plan:Deleting a Workspace
Only workspace owners can delete a workspace:- Go to Workspace Settings → General
- Scroll to the danger zone
- Click Delete Workspace
- Confirm by typing the workspace name
Best Practices
- Separate environments — Create workspaces for development, staging, and production
- Client isolation — Use separate workspaces for different clients or projects
- Team organization — Group related projects in a single workspace for shared access